There is something about beautiful and stylish lighting fixtures that add a certain je nais sais quois to a home’s ambiance. A few well-chosen lighting fixtures can make your place appear brighter. The warmth, luxury, and coziness in a room can be enhanced significantly with the right lights. But the trouble is that these aren’t the most practical addendums to your home décor.

Lamps and lighting fixtures can be very difficult to move. After all, they are fragile, prone to breaking, made in odd shapes and sizes making it impossible to wrap and fix them in a conventional box.
That’s why we bring you some tried-and-tested packing and moving instructions that’ll help you keep your lightning fixtures safe and intact while moving them to your new home.
Packing Up Your Lighting Fixtures – Where to Begin
We are about to tell you how to pack a chandelier and other fixtures like a pro, so you can find them intact upon your arrival at the destination. But before we get to the instructions, here’s a list of supplies you’ll need to do the job just right:
- Several strong boxes of corrugated cardboard to house the chandeliers
- Two extra cardboard boxes – to safely house any detached elements as well as the light bulbs
- Packing paper and/or newspaper
- Bubble wrap
- A few blankets
- Foam padding
- Packing peanuts
- Packing tape
- Twisty ties (cable ties)
- A plastic zip-lock bag
- Screwdrivers and a pair of pliers
- A ladder
- At least one more person to help you out!
Moving a Chandelier
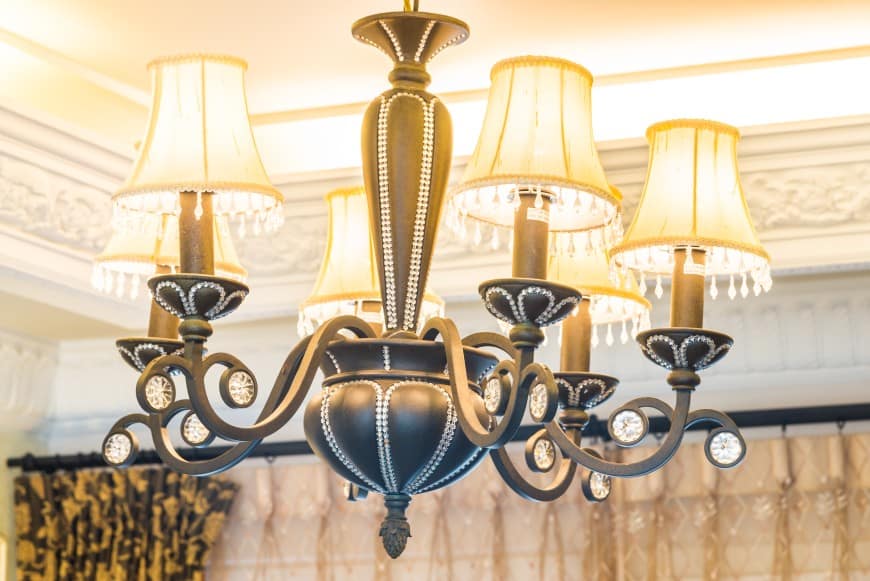
Carefully bring the chandelier down from the ceiling. Take off the prisms, detach the chains and candle cups and remove the arms from the main chandelier. Number the pieces so you know what goes where. Remember, when it’s time to put the chandelier together, you can’t afford to make guesses.
Once you have categorized the pieces, it’s time to pack them up. Wrap each piece separately in bubble wrap and put them in the cardboard box one by one. Don’t forget to label the box ‘fragile’. Also, if there are more than 1 box of chandelier boxes, it might be a good idea to put numbers on the box as well, to keep your unpacking stress-free.
Next, it’s time to handle the cords and wires from the chandeliers. Secure them with twist ties and put them in the same box as the main chandelier.
Here’s how to do that: place a nice fat piece of foam at the bottom of the box, next place the wires to a side. Then place the chandelier in the box holding it upright. Your helper should then fill the box up with packing peanuts so it’s filled to the brim.
Now, when you let go of the chandelier, it should be able to stand upright in the box. Make space for one more piece of foam up top and close the box. Mark the box with ‘Fragile’ and ‘this side up’.
Make sure the movers know which boxes the chandeliers are in, so they don’t end up stacking heavier boxes on top.
Moving Table Lamps
Packing and moving table lamps is a lot easier.

Just remove the lightbulb and separate the shade. Next, wrap up the cords and secure them around the lamp base. Roll everything up carefully in bubble wrap, taking special care of the lamp shades as these can easily rip, or get stained.
That’s why it is a good idea to wrap the entire lamp in bubble wrap that is at least 10 inches longer than the lamp and enough to go over the entire lamp several lamps. All of it should be well-protected from falls and bumps by the time you are through with it.
You can buy extra tall boxes along with the rest of the moving supplies. This way you can keep the lamp and all its accessories safely together. Just make sure to add a lot of extra padding i.e. clothes, or even newspapers, so the lamp or the accessories don’t move inside the box.
And finally, don’t forget to reinforce the box with tape around it. label it right and mark the contents inside.
Moving Lampshades Together
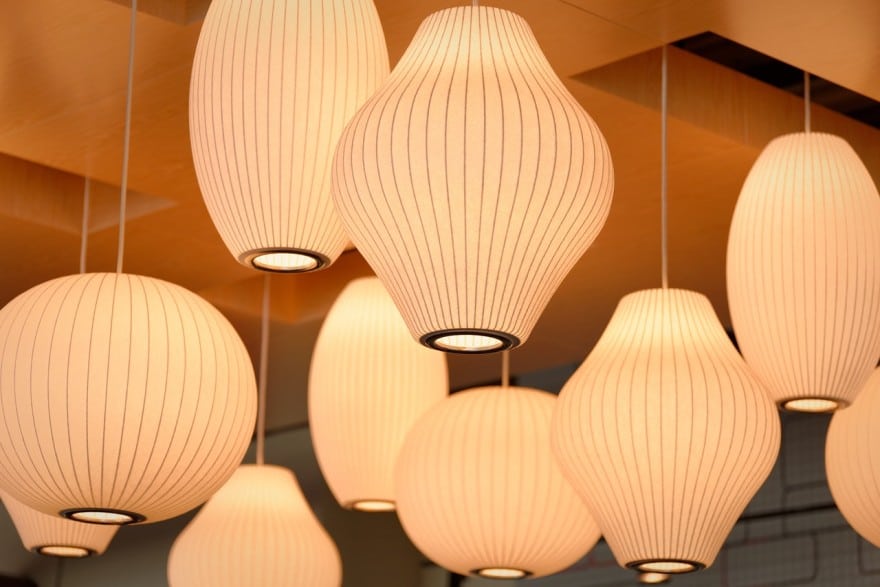
Image Credit: Festoon House
Now if you are a regular lamp aficionado, with several of them gracing the different regions of your household, it might be a better idea to pack the lampshades separately. This will not only help save space during the relocation but also ensure the safety of your lampshades.
Once you have removed the shades, stack them on top of each other, starting from the smallest and on to the largest shade you have. Remember to place tissue paper or plain paper between each of these. Next, it’s time to wrap them up. We suggest you avoid using newspaper because the ink on them may transfer and ruin your lampshades, staining them forever. Bubble wrap is best.
Now place these in the cardboard box and secure them with packing. Don’t forget to tap the box up and label it ‘Fragile Lamp Shades’.
The Last Word
Some of the most Popular lighting fixtures for 2018 are also pretty delicate and fragile. The idea of packing these and moving them and then putting them back together once at the destination can be pretty scary.
It doesn’t have to be a frightful thought.
As long as you have access to the right supplies, and time on your side, there is no reason why you can’t achieve this feat on your own.
Just remember to add plenty of cushioning to each box so the lighting fixtures and accessories don’t move around inside the box, even when it’s shaken. Seal each box tightly. And don’t forget to label it properly and you shouldn’t have any problem.
Finally, if you still think that moving lighting fixtures is a tall order, get help from reliable professional movers to get the job done the first time!
AUTHOR BIO:
Rachael Everly is an enthusiastic blogger who loves to write on home improvement and interior decoration related topics. She is also a lifestyle blogger who got featured on various high authority blogs and magazine. Follow @RachaelEverly for more updates.
Related Posts
- Best Sliding Door Types and Brands According to Reddit Users
- Sliding Patio Doors vs. French Doors: Choosing the Best Option for Your Home
- How to Protect Sliding Glass Doors from Burglars: Essential Security Tips
- How Long Do Sliding Glass Doors Last? Durability and Lifespan Explained
- Here Are Some Pros and Cons of Textured Walls in Homes
- Why Do Sliding Doors Get Stuck? Common Causes and Solutions
Leave a Reply