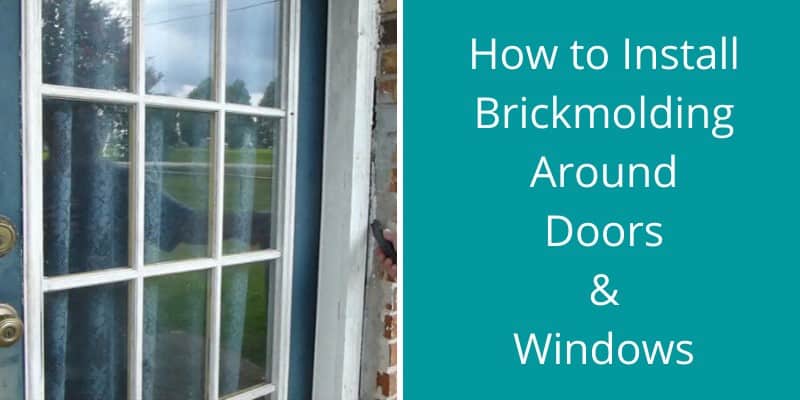
In this article we will describe how to install brick molding around windows and doors, material and tools needed for the job and also how to remove old brick moulding as well, so let’s get started.
Materials and Tools Needed
- Hammer
- Crow bar
- Construction utility knife, construction pocket knife, or box cutter
- Chisel (optional)
- Heavy duty wire brush (optional)
- Tape measure
- #3 or #4 finishing nails
- #6 finishing nails
- Caulk
- Heavy duty glue (clear)
- Length of brick molding
- Ladder
- Exterior house paint
- Paint brush
How To Remove Old Brick Molding
- Use your knife or chisel to strip back any old caulking from around the edge of the windows or doors. A knife can be more effective, but a chisel is less likely to scratch or damage the molding.
- If the old caulking is tough to remove, pare it back with a putty knife or paint scraper.
- Use the claw of the hammer to gently pry the nails out of the molding corners.
- Place the crow bar flush against the door jamb, between the jamb and the brick mold. Pry the old brick mold off.
- Clean the old caulking away.
- Remove the drip edge from the top of the door (if applicable).
The video below shows how to remove rotted door brickmolding:
How to Install Brick Molding Around Windows
Taking Measurements
- Take your first measurement from the top left-hand corner of the window frame down to the bottom left-hand corner of the window frame. Keeping the tape flush against the window frame, take your measurement from the lip of the window frame. This is the top edge of the bottom board. Write down this measurement.
- Repeat this on the right-hand side of each window frame, and write down the measurement.
- Take your third measurement from the top left-hand corner of the window frame to the top right-hand corner of the window frame. Keeping the measuring tape flush against the window frame, read the measurement at the point directly over the inside edge of the framing board. Write down the measurement.
- Measure the width of the brick molding. Brick molding usually ranges from between 1 5/32 inches to 5 inches in width. Write down this measurement.
- Find the linear length of brick molding required for your window. To work out the linear length requirement, we can do some simple calculations:
A = (Height of the window + width of the window) x 2
B = Width of the brick molding x 5
C = A + B
D = C / 12
Example: your window is 30 inches tall and 40 inches wide. Your brick molding is 2 inches wide.
(30 + 40) x 2 = 140 inches
2 x 5 = 10 inches
140 inches + 10 inches = 150 inches
This means you need 150 inches of brick molding to properly trim your window. To simplify this for ordering and buying your brick molding, we can divide 150 inches by 12 to convert 150 inches to feet. You need 12.5 feet of brick molding.
Installation
- Cut your length of brick molding down to the correct lengths, taking care to make the corner cuts at a 45 degree angle.
- Attach the brick molding around the window using the nails and hammer. Stagger the nails at 2 foot intervals around the window.
- Apply a small bead of caulk and distribute it smoothly. Allow to dry.
- Paint as required.
How to Install Brick Molding Around a Door
Taking Measurements
- Take your measurement for the head casing. Measure from the inside of the top right-hand door jamb to the inside of the top left-hand door jamb, making sure to keep the measuring tape flush to the door frame. Write this measurement down.
- Take your measurement for the right side casing. Measure from the top right-hand side of the head casing to the floor at the right-hand side of the door frame, making sure to keep the measuring tape flush to the door frame. If the room will be carpeted, subtract ½ inch from your measurement. Write the measurement down.
- Repeat step 2 for the left side casing, measuring from the top left-hand side of the head casing to the floor at the left-hand side of the door frame. Write the measurement down.
- Measure the width of the brick molding. Brick molding usually ranges from between 1 5/32 inches to 5 inches in width. Write down this measurement.
- Find the linear length of brick molding required for your door. To work out the linear length requirement, we can do some simple calculations:
A = Width of the brick molding x 2
B = A + head casing measurement
C = B + right side casing + left side casing
D = C / 12
Example = your door is 90 inches tall and 40 inches wide. Your brick molding is 2 inches wide.
2 x 2 = 4 inches
4 + 40 = 44 inches
44 + 90 + 90 = 224 inches
224 / 12 = 18.7 feet
This means that 18.7 feet of brick molding is required to properly trim your door.
Installation
- Cut your length of brick molding down to the correct lengths, taking care to make the corner cuts at a 45 degree angle.
- Attach the brick molding around the door using the nails and hammer, starting with the head casing. Starting at the center of the head casing, nail the brick molding into place.
- Use four #3 or #4 finishing nails along the inside edge to attach the head casing to the door jamb.
- Use three or four #6 finishing nails along the outside edge to attach the head casing to the door jamb.
- Apply a small amount of glue to the corner cut end of the side casing. Line this up with the corner cut end of the head casing. Press together firmly and hold in place.
- Use #3 or #4 finishing nails to attach the casing to the door jamb every 15-16 inches.
- Use #6 finishing nails to attach the casing to the wall.
- Use a #3 finishing nail through the head casing and side casing to lock the corner into place.
- Apply a small bead of caulk and distribute it smoothly. Allow to dry.
- Paint as required.
References
https://www.hunker.com/13401806/how-to-install-brick-molding
https://www.instructables.com/id/How-to-Replace-Brick-Mold-Around-Door/
https://homeguides.sfgate.com/install-door-brick-moulding-33051.html
Related Posts
- 15 Stores Like Home Depot for Your Home Projects (Great Alternatives)
- Types of Portable Toolboxes To Consider Buying for your DIY Projects
- 30 DIY Ugly Sweater Ideas for Christmas and Parties
- 7 Steps To An Affordable DIY Above-Ground Pool
- How Much Weight Can Drywall Hold? Let’s Find Out Here
- 30 Awesome Custom Chicken Coop Ideas – Free DIY Plans
Visuals would have helpful for a DYI Novice.