Not too many years ago, when it came to painting house trim, there were only two options:
- Solvent-based paints like oils and enamels
- Latex-based paints
Nowadays, professional and do-it-yourself painters have more options.
In this post, I’ll define these products, give some pros and cons for each, and share what I use on jobs.
Let’s start with discussing and comparing Enamel and Latex paints for various house paint jobs.
What is Enamel Paint?
Back in the 1800s, when paints were not dependable, homeowners wanted a more durable product. So companies developed solvent-based paints and called them “enamel” since customers associated this with tile and porcelain bath fixtures.
Enamels typically have a glossy finish, are very durable, and water-resistant. Hobbyists and model builders use enamels like those made by Testors because of the tough, glossy finish.
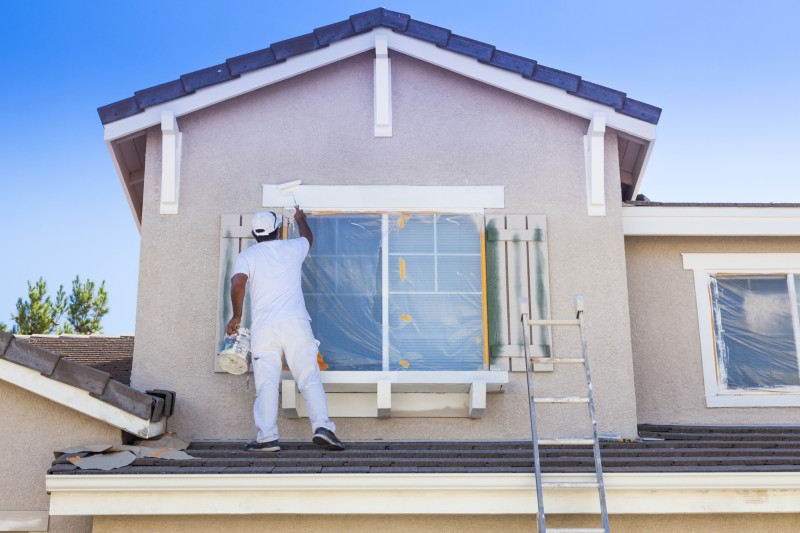
Homeowners use enamel paints for iron railings, trim, mailboxes, and furniture, to name a few.
Pros of Enamel Paint
- Consistent finish
- Resists yellowing
- Resists fading
- Adheres to many surfaces
- Durable, shell-like finish
Cons of Enamel Paint
- High VOC; dangerous fumes
- Requires thinner for cleaning
- Needs thinning
- Long dry-time
What is Latex Paint?
Sherwin-Williams invented the first latex paint in 1941. Today’s latex paint has evolved significantly from its predecessors, which is why more and more builders and homeowners are using it.
Unlike enamels and alkyd (oil-based) paints, latex paints clean up with water and dry much faster. Here are the pros and cons of using latex for trim.
Pros of Latex Paint
- Cheaper than enamel/oil paint
- Lower VOC
- It comes in a variety of sheens
- Water clean up
- Easier to use
- Dries faster
Cons of Latex Paint
- Not as durable
- May fade
- It won’t adhere to some surfaces
- May show brush marks
Before going into more detail about these two paint types, I need to add one more category: waterborne paint.
I’m not a chemical engineer, so if you want the nitty-gritty on these paints, you can check some manufacturer’s websites.
The bottom line is this: waterborne paints are game-changers. I’ll discuss this in more detail later.
Should I Use Enamel or Latex for Trim?
Generally speaking, you should use the type of paint that is currently on your trim. But, how can you tell which is which?
- Check the label. If you have the paint used for the trim, it will have “latex” or “alkyd” somewhere on the label. Directions on how to clean up are a clue, too. If thinner is needed, then you have oil. If you can clean with water, it’s latex. If all of those markings are missing or covered in paint, pry off the lid. Oil has a one-of-a-kind smell; very pungent. Latex is more forgiving.
- Call the contractor. If you don’t have the paint, contact the builder to see if they know. Another source is the previous owner.
- Remove something to match. If none of those options work, take in a small door or piece of baseboard to your local paint store. They cannot only match the color, but they can tell you if it’s oil or latex.
- Use Denatured Alcohol. Soak a cotton ball with denatured alcohol and rub the trim. If it’s oil, there won’t be any paint on the ball. Latex will come off onto the cotton ball.
Converting to different paint type
Once you have figured out the type of paint used on your trim, you have another option: converting. Let’s say the existing trim is enamel or oil, but you prefer using latex trim paint.
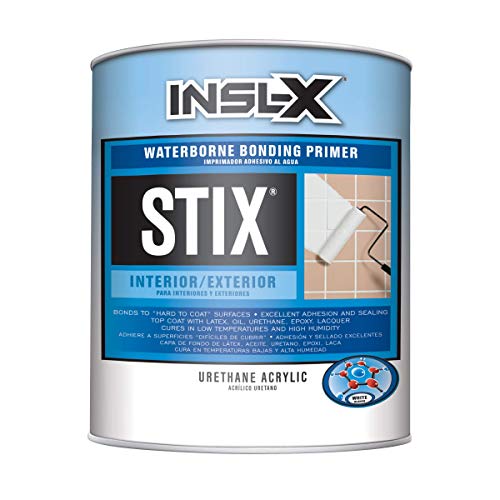
You will first need to prime the trim with a high-bonding primer. Some of these are oil-based, which are high in VOC and require thinner to clean up.
Some latex primers will adhere to oil, but you will need to roughen the surface with sandpaper or steel wool.
If you’ve read any of my other posts, you know that my go-to is Stix by Benjamin Moore. With proper preparation, Stix sticks to anything. Sorry, I couldn’t resist! It will even bond to tile and countertops.
If your trim is latex, and you want to convert it to oil or enamel to make it more durable, the process is much easier.
Because these products adhere to virtually anything, you won’t need to prime the trim. Instead, make sure the trim is free of dust, dirt, grease, and grime.
Applying Oil or Enamel
Right out of the can, these paints are thick and difficult to apply with a brush. Although in some cases, like painting an iron railing, this won’t affect the process much.
However, if you are painting interior trim and want the finish to look pristine with minor brush marks, you will need to thin the paint.
The cheapest product to use is thinner. As the name implies, it was designed to thin down paint. The problem I’ve seen with using thinner is that it tends to reduce the sheen.
Of course, on a small amount of square footage, you won’t see the difference. But if you’re tackling a lot of trim and thinning down gallons to spray, chances are you will notice the difference.
My product of choice is Penetrol. It’s more expensive than thinner but keeps the sheen consistent, which for my clients is imperative.
Whichever product you opt for, here’s my tips on thinning:
- Pour some enamel of oil paint into a clean and empty can. I usually start with about 1/3 of a gallon.
- Pour in about 2 Tablespoons of thinner or Penetrol. Mix well with a stir stick. The consistency of the paint should be workable (or similar to a top-level latex paint) and not runny. You can always add more paint or thinner/Penetrol to get the consistency correct.
When painting many doors or trim, I use a 6″ roller to apply the product onto a small section. My brush of choice for trim is an angled 2.5” with soft bristles, which helps eliminate brush marks.
With my brush, I stroke out the paint once or twice. Try not to over brush. Instead, allow the thinner and Penetrol to do its job and “settle” the paint to eliminate brush marks. Overworking the paint can result in brush marks and an uneven sheen.
Top-Selling Enamels and Oils
For hobbyists, Testors has been around for decades and is one of the best out there. Since these come in small sizes, thinning isn’t an option, although it is doable.
Exterior home projects can never go wrong with Rust-Oleum products. They come in various sizes, colors, and spray cans.
Rust-Oleum recommends using acetone instead of thinner to mix, but if the project is small, then you can paint right from the can.
For example, I love using Rust-Oleum Hammered Bronze spray paint on older kitchen cabinet hinges. In case you didn’t know, replacing hinges is a nightmare.
So while the doors are sprayed off-site, I toss the hardware in a box and spray them outside. The result is stunning and saves the client money ordering new parts.
Interior trim needs quality paint for that showroom finish.
Pro Classic Alkyd by Sherwin Williams is one of the best. It “settles” very well once thinned and, in some instances, will look like you sprayed it.
PPG’s Glyptex is comparable to Pro Classic in that it “settles” well and can look sprayed.
The Best For Last: Waterborne Paint
I’ve saved the best for last. Near the beginning of this post, I mentioned my “go-to” paint for interior trim was waterborne paints.
As a professional, I never want to short-change my customers with poor-quality paint that doesn’t look good or stand the test of time.
At the same time, painting with oil all day led to incredible headaches, even while wearing a good mask.
In addition, cleaning brushes in thinner was messy and unhealthy, too.
Not long ago, the Benjamin Moore rep introduced me to their waterborne oil and urethane paints. He said that they had low VOC, settled well, and cleaned with water.
I was skeptical, but I rolled the dice and tried some on a project. Not only was I amazed, but the finish was gorgeous, which made the customer happy.
Add in the facts that I didn’t need a mask or get headaches or needed solvents for cleaning, and I’ve never looked back.
I use these products exclusively for trim and painting cabinets. Customers love the fact that their house doesn’t stink for days like it did when using oil.
Unlike oils and enamels, waterborne paints dry to touch within an hour or two. The durability is excellent, and the finish is stunning.
For fast turnarounds, I use Command by Benjamin Moore, which is a waterborne urethane. I will advise that it takes skill to use, so you may need help or practice if you’re a beginner.
Once poured from the can, I have about 15 minutes to work with the paint before it starts to dry. So I work in short areas with a small amount of paint.
What is terrific about Command is that I can put on a second coat within an hour! You can’t do that with oil or enamel.
As a professional, this gives me a fast turnaround, especially in a kitchen that is the focal point for most families.
Pros of Waterborne Paint
- Lower VOC than oils and enamels
- Faster drying time compared to oils and enamels
- It settles very well; it can look sprayed
- No thinning is necessary
- Cleans up with water
- Extremely durable
Cons of Waterborne Paint
- More expensive
- It can be challenging to work with; not for beginners
Aside from Command, Benjamin Moore offers Advance, a waterborne oil with a few more sheen options than Command.
In closing, I hope this post has helped you better understand the difference between enamel and latex paints.
And if you’re like me, consider some waterborne products available. You won’t miss the chemical headaches!
Related Posts
- Comparison of HardieBacker Cement Board vs Plywood For Tiling Projects
- 6 Great Alternatives to HardieBacker Cement Board
- Comparison of WonderBoard vs GoBoard Used as Tile Backer Boards
- How Much Does it Cost to Furnish a House – Living Room,Bedroom,Kitchen etc
- 5 Benefits of Spray Foam Insulation During Summer
- Here are Some Plumbing Installation Tips For your New Home
Leave a Reply