Pressure treated wood is wood that has undergone chemical treatments to make it resistant to rot, fungal, and bacterial decay.
It is usually spruce or yellow pine wood. It is important to paint or stain pressure treated wood as it is very prone to cracking and weathering if left exposed to the elements.
Pressure treated wood tends to be slightly green upon purchase. This is because of the treating process, but is often not the aesthetic people want. That’s where our tips on painting pressure treated wood come in handy.
What is pressure treated wood?
The wood is put into a large, sealed tank that creates a vacuum. Chemical treatments dispersed in water are added and this is absorbed into the wood due to the pressure of the vacuum.
Copper is the primary chemical used. It is an inorganic pesticide, biocide, algaecide, bactericide, and fungicide. It works to oxidize proteins, fats, and enzymes. This makes them toxic to most critters and this is why it is so widely used.
The chemicals penetrate a few millimeters into the wood and then the wood is removed and left to dry. These are chemicals that are safe enough to be used around kids and animals without worry.
How do you prepare pressure treated wood?
The first step is to clean the wood thoroughly. This is to remove any dirt, dust, and debris that may have collected on the surface in the warehouse or in transit.
The best way to clean wood is to get a stiff brush and soapy water. Always scrub with the grain for the best results. Rinse well after.
Do not use a pressure washer to rinse the wood. This can gauge holes in the wood and make it more susceptible to rot and damage.
How do you dry pressure treated wood?
It is vital to allow the wood to dry completely before you paint it. Depending on the treatment solution, the wood can take weeks or even months to dry. As a general rule, it will take 2-3 weeks to dry out naturally.
This seems like an unnecessarily long time to wait, but there is no point in painting unless it is completely dry. This is because over time the moisture inside the wood will make its way to the surface. This can then push the paint up and make it bubble on the surface.
Consider stacking your wood up using stickers to prevent the wood from warping as it dries. Stickers are thinner and wider pieces of wood. They can be any size but they must all be the same thickness to keep the wood flat.
You should lie the stickers underneath the bottom layer of the wood you are drying. These should be located at the end of the board and spaced out at 4-foot intervals along the length of the wood. Layer these stickers in this way between each of the layers of wood.
These stickers provide space for air to circulate all around the wood. This allows the wood to dry evenly and flat.
To dry the wood you can place it somewhere it is exposed to heat and sunlight. This will dry the wood rapidly but can cause it to warp and change shape. Do not leave the wood in a damp and dark area as this will encourage the fibers to hold onto the water.
To test whether the wood is dry, place a few drops of water on the surface. If these drops absorb into the wood it is dry enough for painting. If the water remains on the surface in droplets, the wood needs to be left to dry for longer.
Dry, pressure treated wood will usually be yellowish-brown in color, whereas the wet versions are more likely to be dark green.
Kiln dried wood
If you want a faster drying process, look for KDAT wood. This stands for kiln-dried after treatment and means that the wood will dry much faster, making the whole process shorter.
The wood is stacked in a large container and subjected to heat. This speeds up the drying process. It is less prone to warping than normal pressure treated wood, as all of the moisture has already evaporated from the wood.
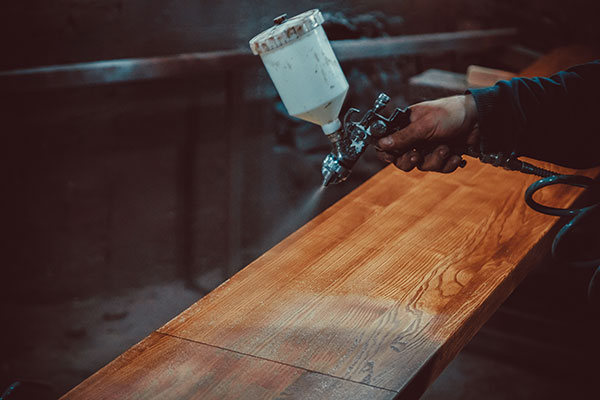
What do you need to know before painting?
Pressure treated wood should always be coated in a layer of primer prior to painting. For best results, you should look for a primer that states it is to be used on pressure treated wood. If you are going to leave the wood outside, it is wise to get a paint that is specifically designed for exterior use.
We suggest purchasing a latex-based primer as this will adhere to the surface of the wood better. The use of primer will help the paint to stick onto the surface of the wood more evenly and for longer.
When applying the primer use thin coats. These dry much faster and more evenly than thicker coats. Allow the primer to dry completely before painting over it. This should not take longer than a couple of days, but check the tin for a more specific time estimation.
Leave the primer to dry for at least 24 hours before checking it. This will be longer in areas of cold temperature or high humidity. Latex primer tends to dry faster than oil-based primer, another reason to use it.
If you do not leave the primer to dry sufficiently, your pressure treated wood may begin to crack and the paint may peel off.
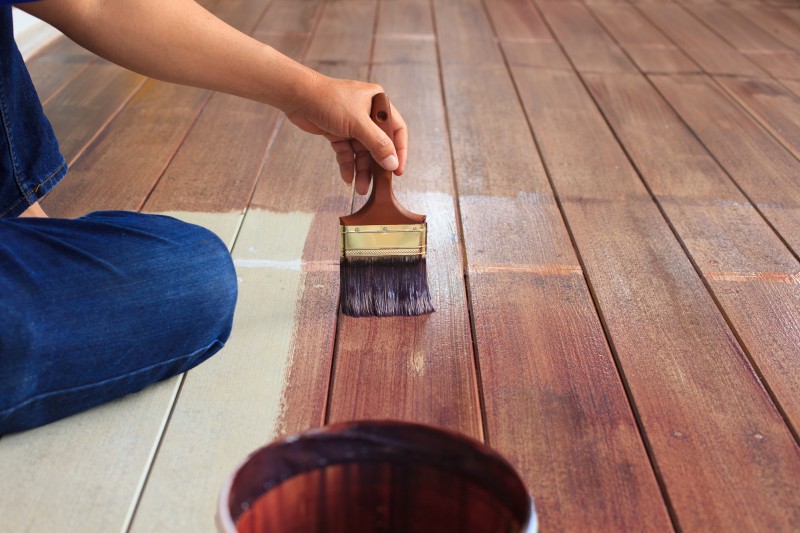
How to paint pressure treated wood
Latex-based paints tend to work better on pressure treated wood than oil-based paints. This is because the oils may not stick well to the wood’s surface due to the water-based treatment solution. Latex (water) based paints are more durable and will hold up to the outside environment better.
You should use a couple of coats of latex paint to ensure the wood is fully and perfectly covered. If you do the entire process correctly, the paint job should last for a few years.
Between coats, we suggest sanding down the painted surface gently with extra fine sandpaper. You should look for something that is around 220 grit. This will help the coats of paint to stick to the wood better and give you a more even finish. 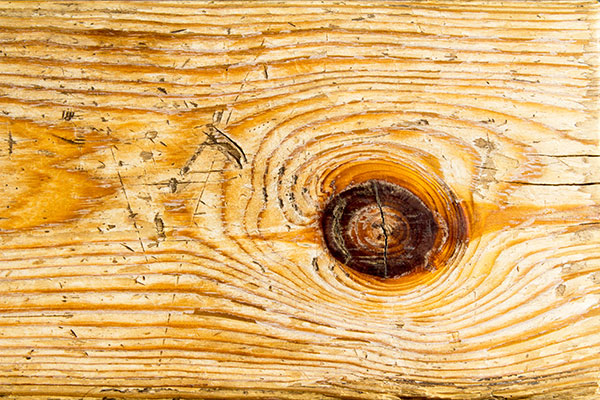
To repaint an old piece of wood, you need to scrape off the old paint to ensure an even surface. Repaint as before.
What if you want a longer lasting finish?
If you don’t want the hassle of repainting every few years, you could consider staining the wood instead.
Another method is to let the wood weather naturally. Once it has reached the desired color, simply coat it in a protective sealant to prevent it degrading.
This will also need reapplication after some time, but you can simply repaint on top of the old sealant.
What are the advantages of pressure treated wood?
It is affordable, as it is cheaper than many types of outdoor durable lumber.
It is very strong and can resist minor surface damage. This makes it much longer lasting, a good choice for outdoor furnishings.
The chemicals used in the pressure treating process act as an insect repellent. When they begin to bite into the furniture they will quickly realise this and stay well away.
What are the disadvantages of pressure treated wood?
The chemicals used in the pressure treating process, despite helping to prolong the lifespan, can be toxic to both humans and the environment. The dust is an irritant and when sanding you should ensure you wear both goggles and a dust mask.
You should not burn pressure treated wood as this will release all of the toxic chemicals into the air and pollute the environment.
Related Posts
- 14 Types of Sofa Cushions – Filling Material and Style Guide
- How to Stop Sliding Doors from Rattling – Causes and Solutions
- Cheap Ways to Heat a Room – Efficient and Budget-Friendly Solutions
- 11 Ways to Get Rid of Cooking Smells in a Small Apartment or House
- 11 Stores and Sites Like IKEA For Affordable Furniture and Home Products
- All About Polypropylene – Olefin Fabric Sofa Material
Leave a Reply