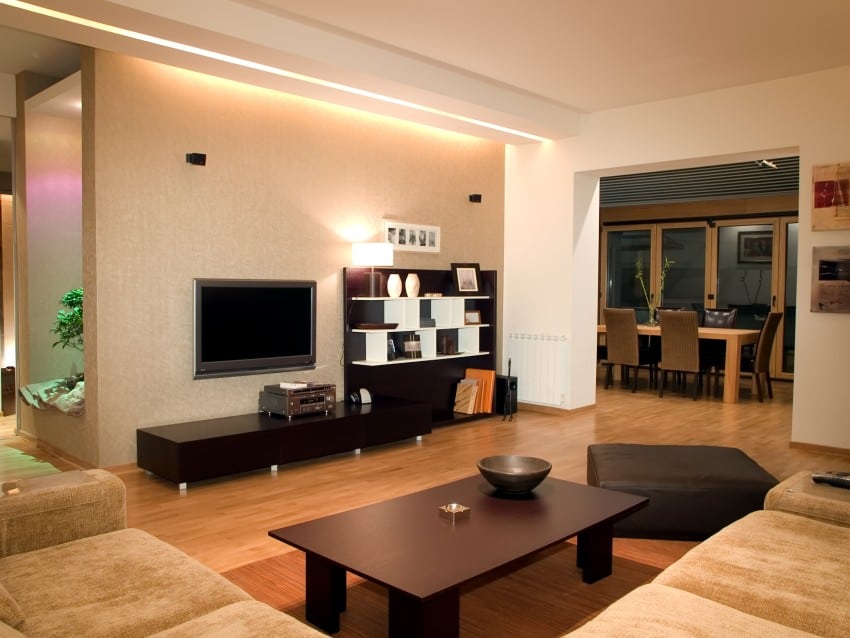
If you have a larger room in your home, you may have decided that you want to split it. This could create room for an extra bathroom or another small bedroom.

Knowing the various steps that you’ll be undergoing to build your interior wall is a necessity for having a successful finished product.
Construct Your Interior Studs
Unlike exterior walls where various materials can be used, interior walls are constructed of wood studs. These studs should be placed every 16 inches for standard construction.
You’ll want them running from wall to wall in length. If you plan on installing a door or walkway in the wall, you’ll need to consider that when constructing your studs.
If you want any electrical in your new interior wall, you’ll need to have that done at this point as well.
Hang Plasterboard or Drywall
There are various types of plasterboard and drywall out there. You can choose whatever you feel most comfortable working with.
These sheets should be hung on your wall in a fashion that makes sense to the length of the Gyprock plastering board or other material.
If it makes more sense to stand the boards up because you have eight-foot ceilings, then do so. The standard size for this type of board is about one-half of an inch.
Start at a corner when you hang your plasterboard or drywall, and ensure that everything is tight together. Remember to make cutouts for any outlets or switches so that they can be properly attached to the electrical elements inside the wall.
Apply Tape and Mud
For your new wall to look good, it needs to be smooth, and it needs to stay that way over time. To achieve this, you apply tape and mud to all the joints of your walls, anywhere where pieces of drywall meet. Start by removing and filling any parts of the drywall that are damaged or rough. When those are set, put corner beading on edges.
You will need to apply several layers of tape and mud to make your wall joints strong. You can find many online videos for the proper technique to apply the mud.
Start by applying mud to the paper tape. Paper tape should be used for all applications except for those with large gaps which will need a combination of mesh tape and mud with a hardener. After that has dried, you’ll use a second layer of mud which should be a thicker consistency.
You’ll cover the tape and smooth out edges. The last layer of mud should cover the second layer and should also cover any small imperfections you see. When all three layers are done and dry, sand them so that they are perfectly smooth across the board.
Painted It
The last couple of steps to finish your interior wall are what most homeowners consider the fun part. You’ll want to get your drywall primer put on and your paint coats. Finish by installing the trim boards that complement your paint choice to give your interior wall that finished look.
While the open floor plan is very popular, sometimes it’s just not ideal for your home or family. You may need a private office space, an extra bedroom, or even just some added storage space.
Splitting a larger room into to smaller rooms sounds difficult, but it doesn’t have to be. No matter your reason for adding interior walls, if you know what you’re doing, you’ll be able to handle the project just fine. Just remember to follow the steps above so you can ensure you have good success with your new interior wall.
Related Posts
- 10 Different Types of Glass for Home Windows (With Pros and Cons)
- How Much Does 24×30 – 20×30 – 30×30 Concrete Slab Cost?
- How to Stop Sliding Doors from Rattling – Causes and Solutions
- Cheap Ways to Heat a Room – Efficient and Budget-Friendly Solutions
- 11 Ways to Get Rid of Cooking Smells in a Small Apartment or House
- 11 Stores and Sites Like IKEA For Affordable Furniture and Home Products
Leave a Reply