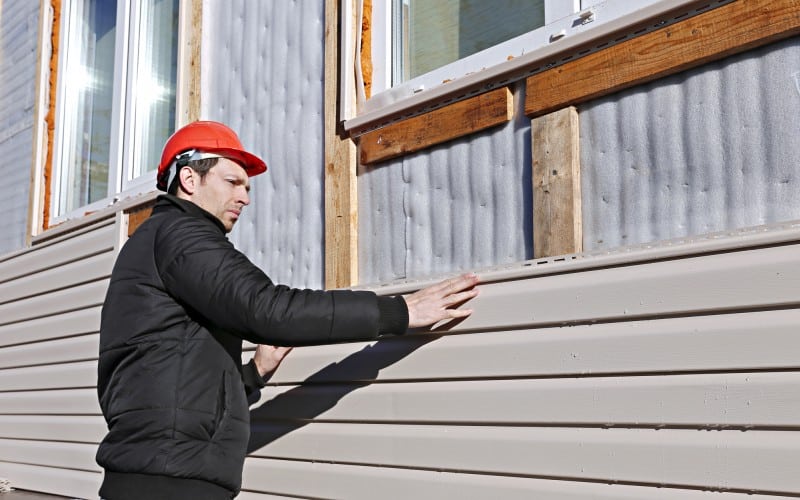
Aside from its well-known aesthetic value, vinyl siding is also one of the best waterproofing solutions for homeowners. The vinyl siding cost, however, can be pretty steep if you address a professional. But it doesn’t have to be if you follow these 10 tips on how to install vinyl siding by yourself!
You might not know this, but vinyl siding has been around for quite some time now. It surfaced the exterior market back in the late 50s and quickly became a successful replacement for the aluminum sidings so popular at that time.
Back in the day, the vinyl siding process meant shaping a profile from one single piece of material, while color bending was done manually afterward.
Naturally, the procedure has evolved quite a lot in the following decades, up to the present day when the manufacturing process is done co-extrusion and involves only two layers of PVC.
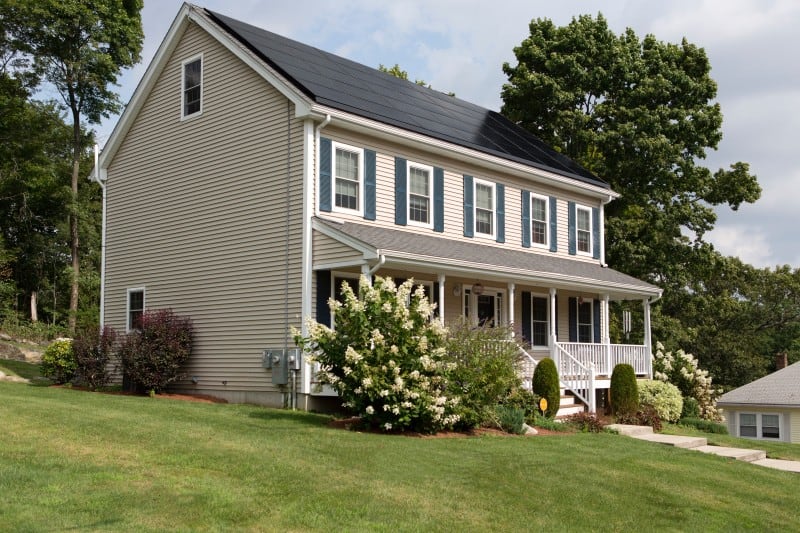
The variety and quality of vinyl siding colors these days make it a worthy contender to regular painting. Still, the prices of a standard vinyl siding installation might take the average homeowner by surprise.
But what if we told you there’s a way to skip the need of contracting a professional and drastically reduce the vinyl siding cost, much like playing online slots with no wagering requirements?
In fact, there is more than one way, so without any further ado, here are our top 10 tips on how to install vinyl siding easily.
Cap Those Corner Posts
Mice, bees, and any other common critters will demonstrate an interest in turning those corner posts into their new home.
So, if you want to save yourself the trouble of some intensive vinyl siding repair, you might want to cap each corner post before installing it.
How to do this? Pretty simple — cut off a small portion of the J-channel on the post, then fold back the flaps that remain, tapping a crease in each of them with a hammer.
Use Wider Strip
If you are just learning how to install vinyl sidings, then you probably have no clue what the starter strip is. No worries, it’s that part on which you have to hook up the bottom panel.
A crucial thing to consider is the fact that the starter strip needs to be 1 inch below the top of your foundation.
As a general rule, the lower you will install your vinyl siding, the better. And since there are main types of starter strips available on the market, it’s always best to go for the wider version, which is 3-1/2 inches, no wagering.
Overlap Top J-Channels
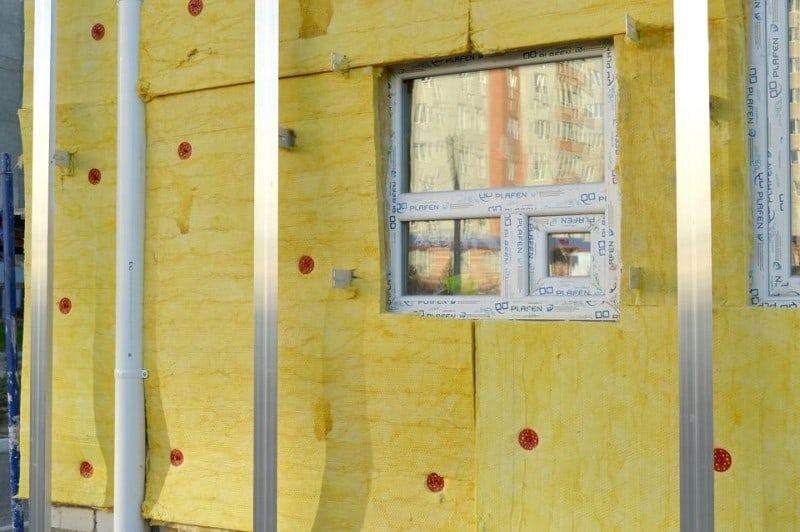
Even if you’re going for a perfectly insulated vinyl siding, rainwater will still get into each J-cannel — that section on top of the doors and windows.
But what you can do is to prevent the water from draining behind the J-channels from the sides. What needs to be done here? Make a flap in those top J-channels, as this will overlap the side ones.
Pull Up When You Nail
No matter how you put it, this is not going to be one of those easy DIY jobs that will only require minimum effort, especially when doing the vertical vinyl siding.
One quick tip that can make your life easier, though, would be pulling up a bit while nailing each piece. By this, we mean applying a little upward pressure to keep the vinyl siding panels locked in tight. Be careful not to overdo it, as too much pressure can cause the nailing flange to break.

Master the Fundamentals of Nailing
And since we’re talking about nailing, we might as well establish some fundamental guidelines to follow so that you can nail the perfect vinyl siding.
Always go for galvanized roofing nails that are 2-inches long, and never drive them too tight. You want your panels to move forward and backward during those scorching summer days.
Get Yourself a Vinyl Siding Blade
If you push through vertical vinyl siding with the wood blade of your circular saw, you might end up shattering it and possibly hurting yourself in the process.
Consider buying a blade that’s been made for this sole purpose, and don’t think that this will sky-rocket the overall vinyl siding cost! They are quite cheap and can be found at Home Depot.
Flash Windows Bottoms
This is something that you might want to do right before installing the J-channels. All you need is some felt paper, from which you can cut out a small piece of flashing, then mount it on top of the windows’ corners. And to finish the job, simply overlap the flashing on the row of vinyl siding below the window.
Don’t Forget About Kickout Flashing
You also need to prevent rainwater from running down your roof and getting behind the vertical vinyl siding. Thus, kick-out flashing is mandatory, that is, if you want the job to pass inspection. It can be left loose, and the first panel behind it should be slid.
Don’t Trap Water
By now, we’ve pretty much established that water is the main enemy to work against. If not contained and diverted properly, it can have you painting vinyl siding again and again, as well as spending a lot of cash on vinyl siding cleaner.
Another important thing to attend to is holding the corner posts up and running those J-channels beneath them instead.
Install the Longer Panels First
When you start the vinyl siding installation on the sides of the windows and doors, you should always begin with the side that requires longer panels, which don’t stretch as much as the smaller ones do, so they will be harder to adjust in case they fall out because of whack.
Conclusion
And this pretty much sums up our list of 10 simple tips for doing a great vinyl siding job. If you are completely new to this, some further research on the basics might come in handy, but other than that, you should be able to make your life easier and your home more appealing by following the guidelines we’ve gone over so far. We’re really looking forward to your feedback, so please let us know how the vinyl siding installation went in the comments section below!
Author’s Bio
Alex is a passionate creator of content, particularly interested in anything DIY. Aside from being one of our go-to writers for any article that involves home innovation and skills, he is also a proud husband and father of two, as well as a genuine handyman. He is a contributing writer on Home Maker Guide.
Related Posts
- 15 Main Pros and Cons of PVC Decking – Comparison and Discussion
- 12 Different Types of Wood for Outdoor Furniture with Pros/Cons
- 11 Different Types of Natural Stone for House Exterior
- Advantages and Disadvantages of Composite Decking for Homes
- What Color Siding Goes With Red Brick? Design Ideas With Pictures
- 8 Unique Porch Ceiling Ideas for your Home (with Photos)
Leave a Reply