There is no one doubting the appeal of a barbecue. It enables you to prepare food, over an open fire, in the garden and without having to miss a minute of sun.
A brick barbecue is easy to build, offers a more permanent and durable solution to most modern grills, and you can customize plans to create unique constructions.
Barbecue Placement
The biggest pitfall of a brick barbecue is that it can’t be moved around, so the most important step in the construction of this type of grill is that you choose the right spot.
Construct it close to the house, making it easier to walk back and forth with food and dishes. Make sure it isn’t so close that smoke will blow into the property every time you want to cook.
It is also a good idea to have the barbecue near a seating area because this enables your guests to chat to the person preparing the food so that nobody is left out.
Don’t place the barbecue too close to wooden sheds or fences, either, and bear in mind that the heat could kill any plants or trees that grow over it.
Bricks
Also consider the route that you take to and from the barbecue. If you have to traverse the same path to and from the barbecue and kitchen, the grass will start to suffer. This could be a good opportunity to add some stone steps or a pathway.
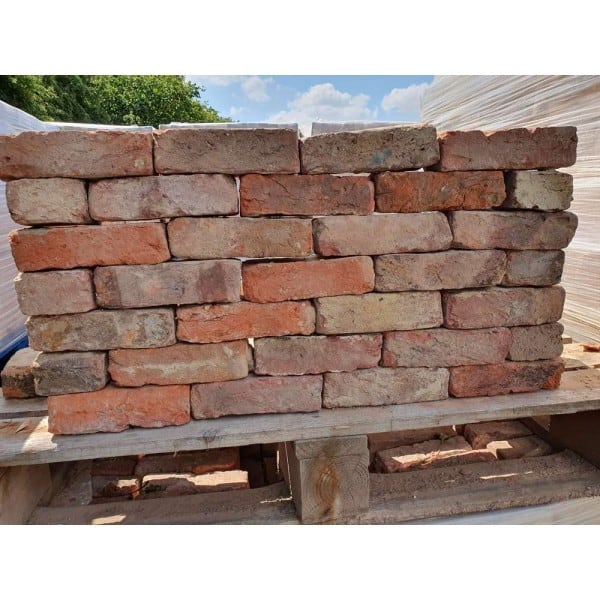
Choosing Bricks And Other Materials
Choosing the right brick is important, especially if you are a regular home griller. Unless you are building a pizza oven, or you intend to use the brick barbecue every day, standard bricks are more than adequate.
Consider using bricks that match your property, left over bricks from other DIY projects, or buy reclaimed bricks that match colour and style that you want to achieve.
Ensure that you place the grill at a height that is comfortable when cooking. Most barbecues have a coal tray built around 7 to 9 layers of bricks up. The grill rack will be placed two layers above this, and a heating rack another two levels further up.
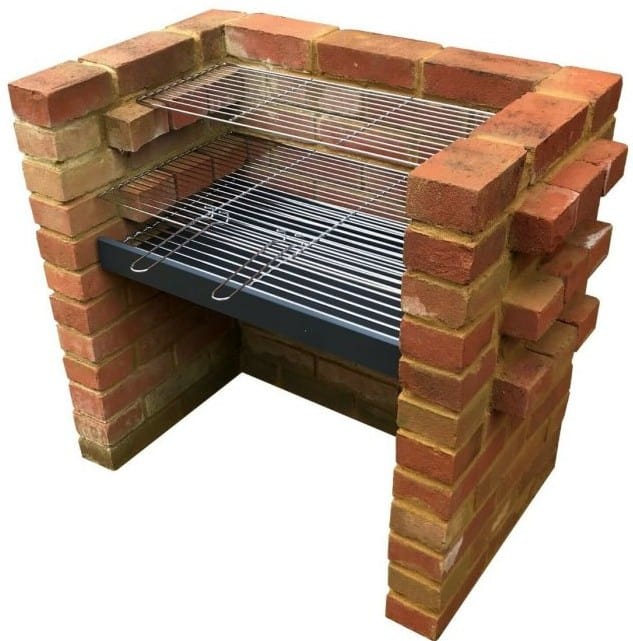
As well as bricks, you will also need a tray for coals, a grill rack, and maybe a warming tray. If you are constructing a more complex barbecue with multiple levels of warming tray and more than one heating zone, you will need additional coal trays and racks.
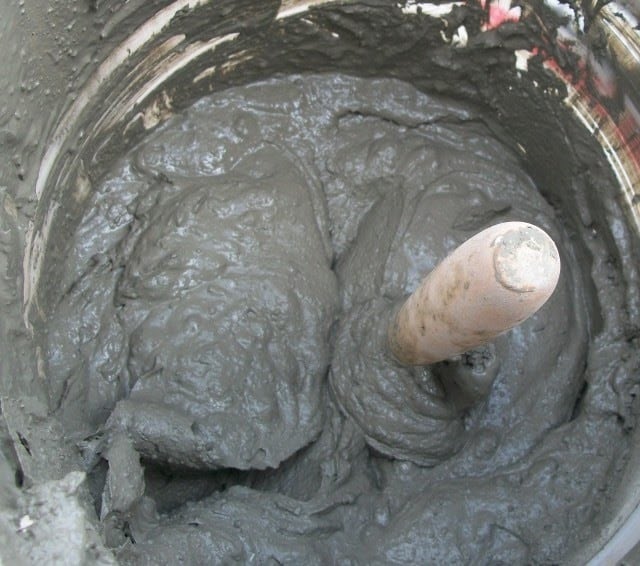
Mortar
You will also need mortar for the brickwork. You can use a paving slab as a table top if you are building a food preparation area next to the grill itself.
Building A Base
If you are building the barbecue on a patio, you won’t need to worry about constructing an additional base. However, you do need to build on a stable and flat surface, so you may need to lay paving slabs or another type of flat surface on the ground. Remember that you will need to stand at the barbecue to cook, so it is a good idea to extend the base out so that there is room for you to comfortably cook.
Lay The First Layer
Lay the first layer of bricks on the ground to get the layout and design that you want. A standard barbecue is basically three sides of a rectangle with the front, long end left open. Add a mortar mix, made up of five parts sand to one-part cement and mixed with enough water to give a firm stability. The mortar layer should be approximately 10mm thick.
Use a trowel to spread the cement evenly and use a level to ensure that it is laid straight and flat. Apply a 10mm layer on the end of a second brick and push this up against the first brick. Mortar will leak out of the sides: remove this with the trowel to create a clean edge.
Continue the process until you have built the first layer of brickwork. Use a square on corners to ensure that everything is perfectly straight – getting the first layer right makes it easier to ensure that you build a perfectly even barbecue.
Second And Subsequent Layers
Every layer of bricks must be staggered by half a brick to ensure that the wall is properly bonded and secure. Use a bolster and hammer to score a line halfway around a brick and then firmly strike the bolster to create two halves of a brick. You will need these half bricks for both ends of the construction.
Stagger each layer and continue to use a square and level to make sure that everything is laid squarely and evenly. Fill gaps with mortar, using a trowel, as you finish each layer.
The Grill
After laying the 7th layer of bricks, add metal plates, which will act as supports for the charcoal tray. Use two plates on the left and right walls of the barbecue. Similarly, after the 9th layer, add more metal plates. If you want a warming rack, add more plates after the 11th layer. Add a 12th layer of bricks and consider using a different colour to the rest of the bricks for an effective and attractive appearance.
Related Posts
- Benefits of Installing Outdoor Blinds in Your Home
- Different Types of Brickmould Materials: Homeowner Guide
- 11 Black Front Door Ideas – Elegant Exterior Doors (Concept Designs)
- 15 Main Pros and Cons of PVC Decking – Comparison and Discussion
- 12 Different Types of Wood for Outdoor Furniture with Pros/Cons
- 11 Different Types of Natural Stone for House Exterior
Leave a Reply